Alien Engineering Practical
- Mila Praschma
- Oct 29, 2020
- 3 min read
Updated: Dec 8, 2020
FIRST ATTEMPT AT BASE COLOUR
Continuing on from my previous blog post, I began with the Alien Asset's base colours and separated the layers based on which section of the artwork I was doing. At first, I was doing the base colours using a soft brush and only on one layer, which left me with an unpleasant result. Following this, I used three layers: Hair Base, Skin Base and Shoulders Base. In the following images, first; my attempt at colour blocking the base, second; you will see my second attempt at a base colour for the hair, third; the subject's full base colour blocking and the fourth and final image which shows the artwork in PhotoShop, my reference images in use as well as my use of layers.
Base Colours:


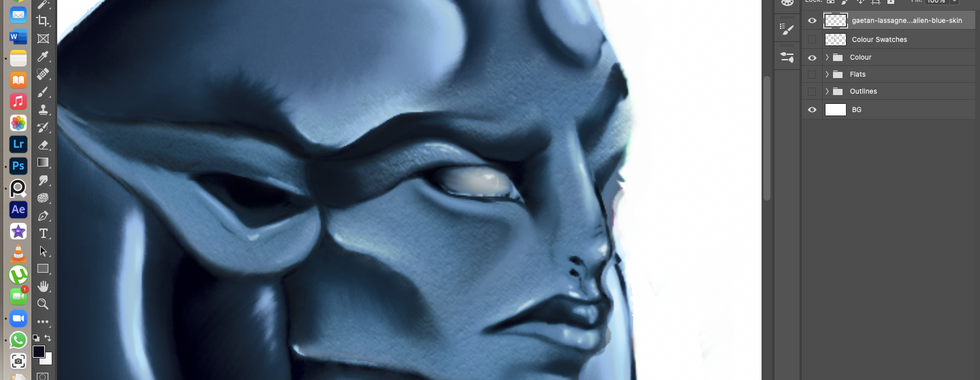
FIRST ATTEMPT AT SHADOWS
I have tried to add more details to the drawing but found I was confused as to where to begin. this resulted in a rather muddy first attempt, as seen below, to create depth in the face.

I was obviously not happy with this, so I asked my university peers for help, watched a few tutorials on YouTube [namely, Dave Greco's 'Portrait Painting with FULL Commentary!' which was rather helpful.] and managed to add my first layer of shadows to the face using a clipping mask for accuracy.

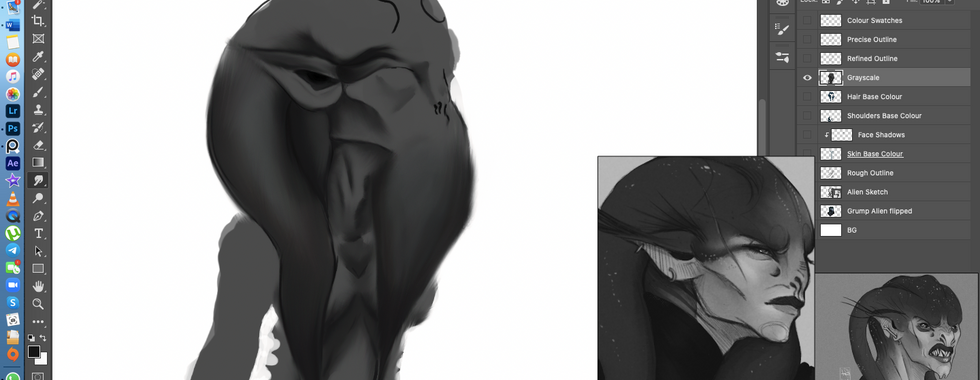
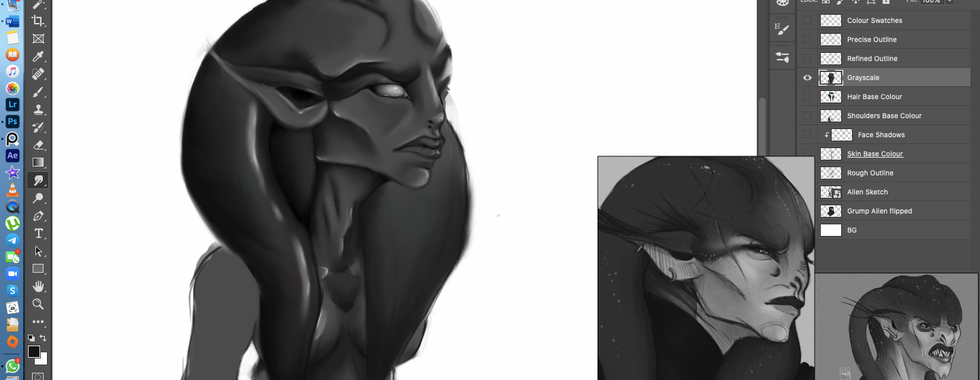
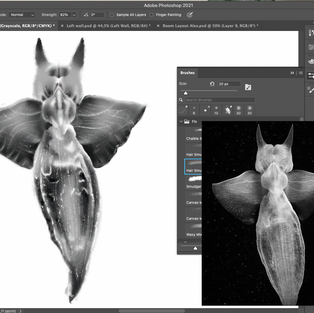
GRAYSCALE
I realized that jumping into colour when I've never worked with it, digital or traditionally, was a mistake. I found a YouTube tutorial by Marc Brunet that showed me how to work with Gradient Maps from Grayscale and have since been following that. In the below images you can see my shading and highlighting process, as well as me making some adjustments such as to the size and shape of the hair. The final images show my process of adding the shading and shape to the arms, whereby I used reference images taken from the book Anatomy for Sculptors and added them as a clipping mask layer and reduced the opacity to 'trace' the images. The last image shows the final of the grayscale, where I elongated the hand's fingers and added more contrast.


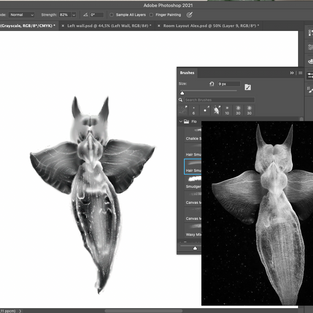
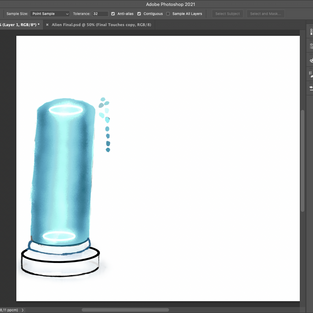
As with the tank assets, below shows the Grayscale method for the second specimen, being my third asset:


COLOUR BY GRADIENT MAPS
I have since completed adding colour using Gradient Maps. I started by separating each section with a flat colour using the Lasso tool, copying to a new layer, drawing a Rectangular Marquee selection over the new layer and selecting the Fill tool from my adjusted foreground colour, ticking the box which kept the integrity of the transparent background.
From there I merged the flat colours to one layer and added gradient maps to each section using the Magic Wand to select which portion of the image to edit, adding a Gradient Map layer and adjusting the colour of the points on the gradient scale. This was confusing at first but I soon got the hang of it and adding colour was a breeze.
The same was done for the tanks, with the final image below showing the finished tank and first specimen without the base, in colour:


Similarly, here is the final image without texturing of the Alien post Gradient Maps, showing my various layers and thus workflow in the right-hand panel.

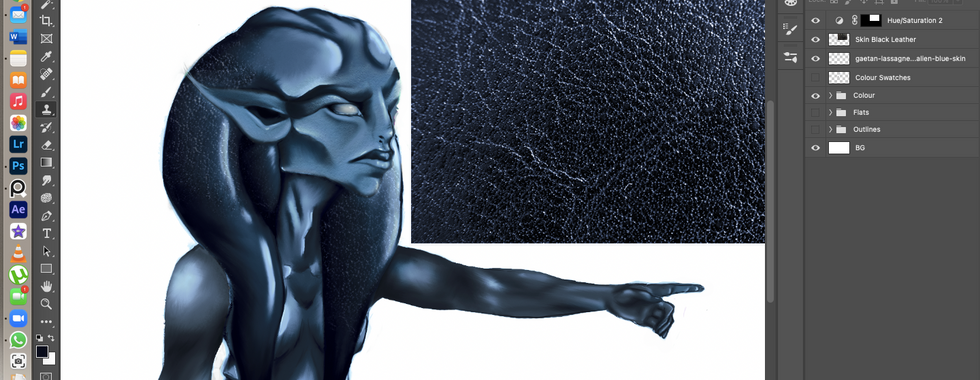
TEXTURES
Below are the guidelines I made for my textures.


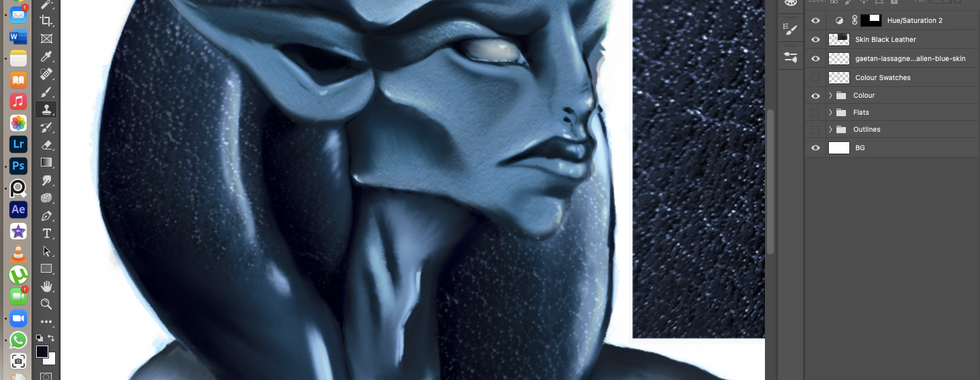
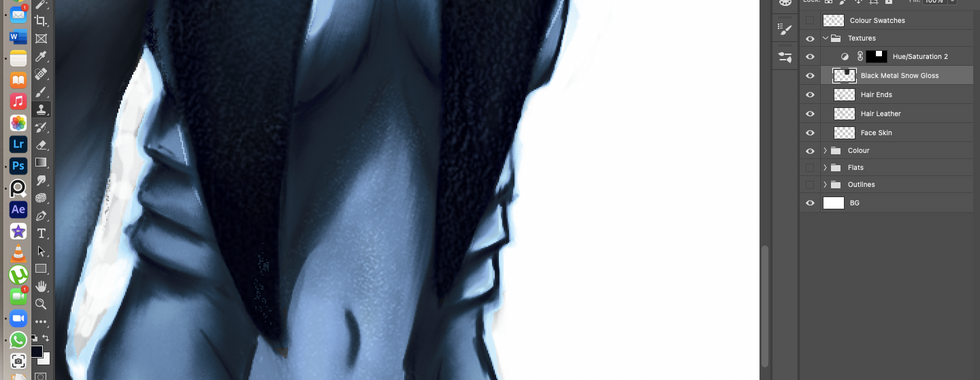
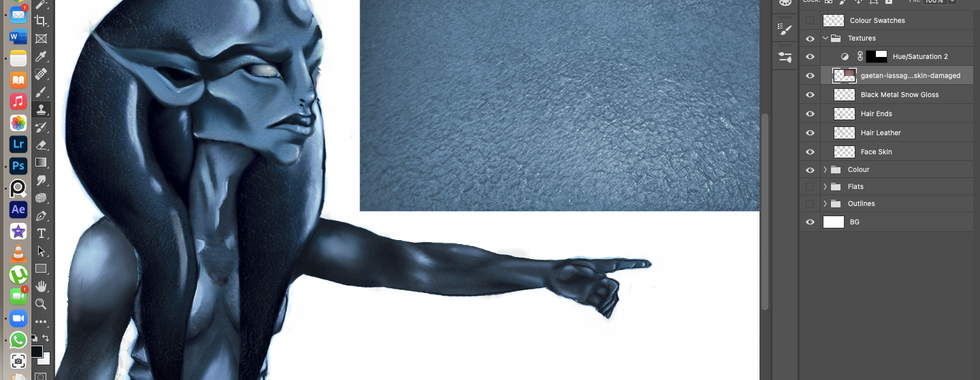
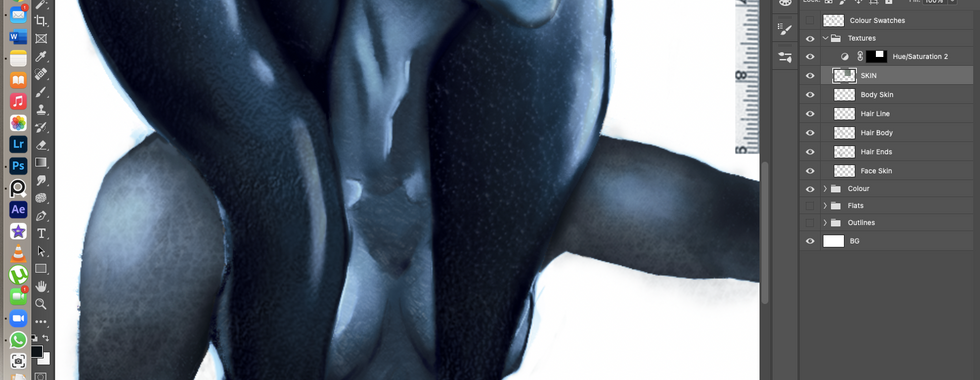
As seen below with the Alien Asset, I followed this very closely, editing each of the images' colours using a Hue/Saturation layer added as a Clipping Mask via the Rectangular Marquee tool to select only the image placed - so that the textures would blend seamlessly into the asset. To further blend the textures, I lowered the brush opacity on the Clone Stamp tool. The first image shows the entire asset with all textures, with all following being the process and close-up shots.


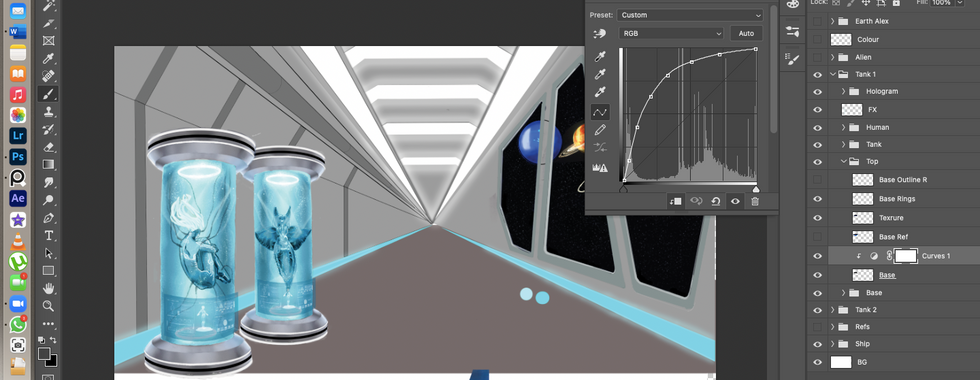
With the Alien done, I finished the base and top holders of my last two assets, using my textures as a guide. I then proceeded to add screens to the tanks as monitors for the specimens, using a pre-existing image and adding colour adjustments, then warping it using Free Transform. I also went in and cleaned up my gradient map selection as some parts were not within their bounds on my assets. In the final image, the additional light adjustments can be seen in order for the tanks to blend more seamlessly with the rest of the environment.


FINAL IMAGES


In love w your process, v affective 😍
Really good attempts, definetely you will end up with a great asset. I would love to see more of those light blues you showed in the previous blog such as 2925c. I feel like there is too much dark colours and adding some light colours would give more character to the asset. you could have light blue eyes or a piericing on the ear. It looks like your going for something like the "Togruta" species from Star Wars, if that is the case seen that the character is quite slim and muscly you could add some veins or just a tatoo on the neck.
nice attempts! I recommend maybe also try out the mixer brush tool in PS, using this tool is like painting with real-life brushes!